Deploying Hugging-face models
Pre-trained models available in Hugging-face can be deployed by DKubeX.
On the DKubeX Workspace, click on the terminal application to open the DKubeX CLI on a new tab.
Type the following command while replacing with the appropriate details enclosed in <>.
d3x serve create -n <deployment name> -r hugging_face --hface_repoid <repo-id> --hface_tokenizer <tokenizer> --hface_classifier <classifier> --repo_name <name of repo containing serving script> --repo_org <username of repo owner> --is_private_repo --access_token <your github personal access token> --branch_name <name of the branch containing the serving script> --depfilepath <deployment file path> --ngpus <number of gpu> --min_cpu <min number of cpus for cluster creation> --max_cpu <max number of cpus for cluster creation> --min_memory <min memory for cluster creation> --max_memory <max memory for cluster creation> --min_replicas <min number of deployment replicas> --max_replicas <max number of deployment replicas>d3x serve create -n biogptdeploy -r hugging_face --hface_repoid microsoft/biogpt --hface_tokenizer BioGptTokenizer --hface_classifier text-completion --repo_name dkubex-examples --repo_org dkubeio --branch_name serve --depfilepath biogpt.deploy
Note
In the serving command, if the values of hardware type, cpu, gpu, memory and replica are not provided, it automatically accepts the default values for them.
Use –is_private_repo and –access_token flags if the repository containing the serving script is private. Also make sure that you have access to the repository containing the serving script.
To find the Hugging-face repo ID, tokenizer and model classifier, use the following steps-
Open the model’s page on the Hugging-face website.
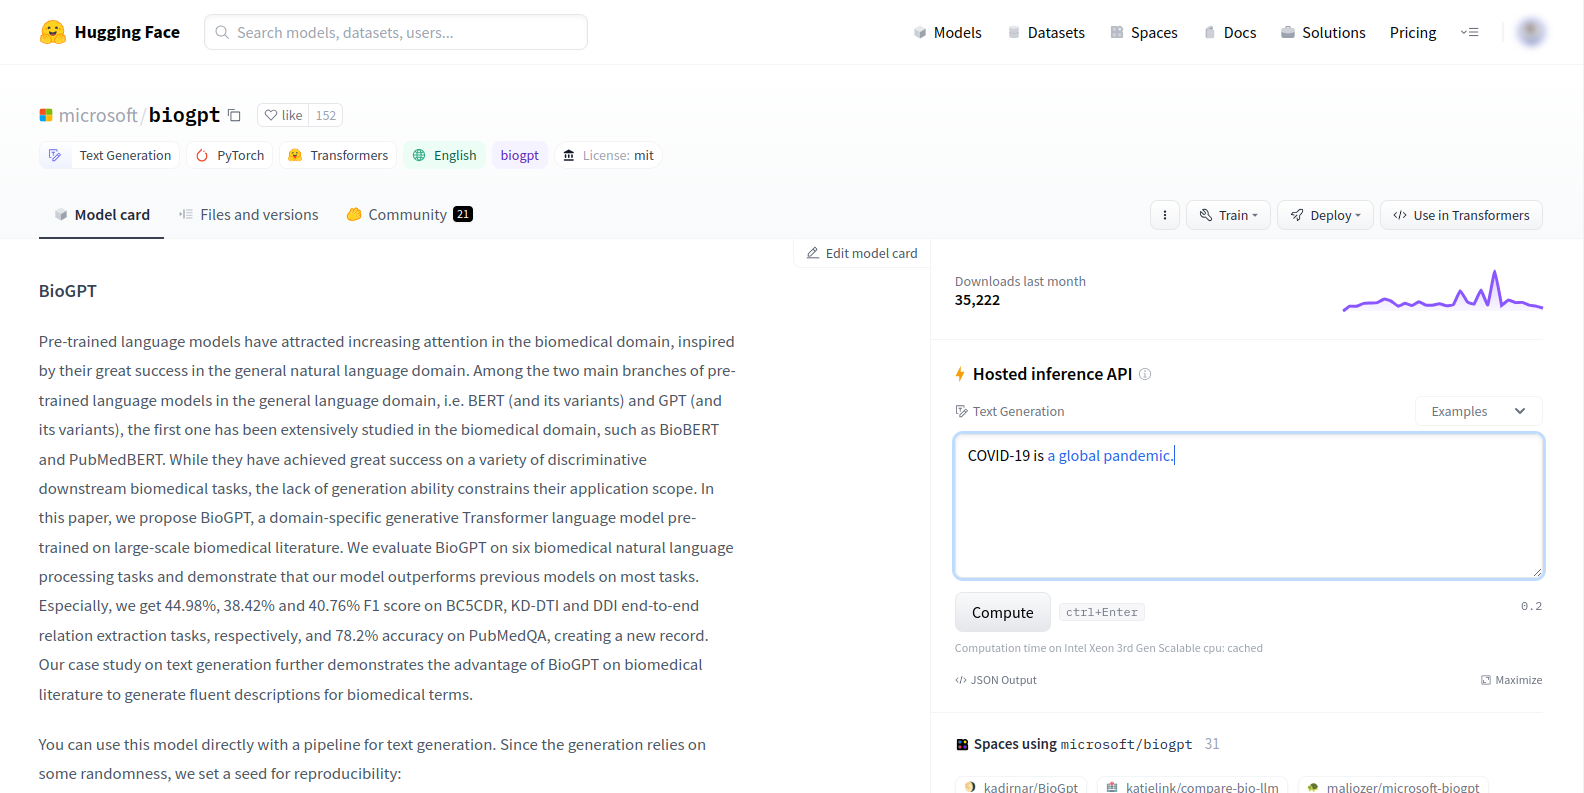
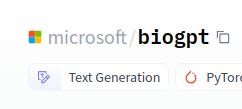
Click on the Copy model name to clipboard button next to the name of the model name. This copies the model repo ID to the clipboard. Make a note of it in a text editing software to use it later.
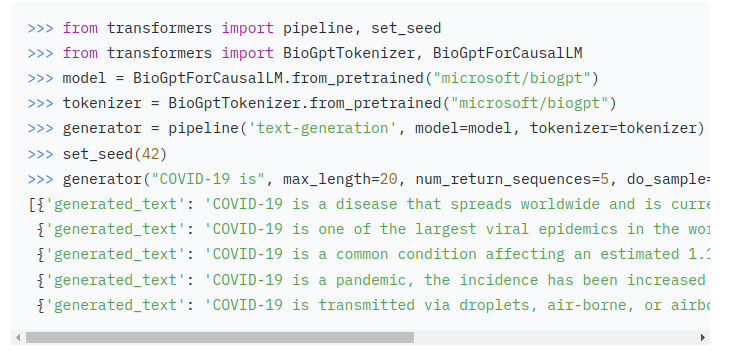
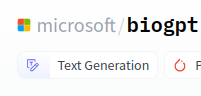
In the model description, from the sample code provided, you can find the tokenizer for the model. For this example in the next photo, the tokenizer is BioGptTokenizer. Make a note of it.
For the model classifier, check the first tag below the name of the model. This is the model classifier. Make a note of it too.
After entering all necessary details, press Enter. The deployment creation will start automatically.
On the DKubeX UI, go to the Deployments tab. The list on the screen should show your deployment, along with it’s status, the name of the serve cluster and the serve endpoint.
The endpoint will show up after the deployment is successful, and the status turns to running.
Clicking on the name of the deployment opens the page containing all the details of that particular deployment.
Clicking on the name of the serve cluster opens the Ray dashboard for that cluster.