Training Fashion MNIST model with GPU in DKubeX
The Fashion MNIST dataset serves as a sizable collection of freely accessible fashion-related images, widely employed for training and evaluating diverse machine learning systems. To train and register a model with the Fashion MNIST dataset using GPU in DKubeX, please follow the steps provided below.
Create Ray cluster
To see which Ray clusters are available to work, enter the following command and press Enter.
d3x ray listThis will list all the currently available Ray clusters. Check which clusters contain GPU that can be used.
If there are no Ray clusters containing GPU available to work on, use the following command to create a new Ray cluster. Replace the
<cluster_name>with the name the cluster will be provided. You can also mention the resource specifications of the cluster here.
d3x ray create -n <cluster_name> --hgpu=<number of head GPU> --gpu=<number of gpu>
d3x ray create -n mnistgpu --cpu=4 --memory=8 --hcpu=4 --hmemory=8 --hgpu=1 --gpu=1
Activate Ray cluster
To activate the cluster that you are going to use, use the following command. Replace $cluster_name$ with the name of the cluster.
d3x ray activate $cluster_name$
d3x ray activate mnistgpu
To check whether the cluster has been activated successfully, run the following command [The currently available clusters will be listed on the CLI, on which the active cluster name should have an asterisk (*) symbol beside it.]:
d3x ray list
Create a training job
You’ll need to access the GitHub repo containing the training files and clone it to your workspace. For this example, you can use the dkubex-examples GitHub repository. Clone the repo to your workspace using the following command:
git clone https://github.com/dkubeio/dkubex-examples.gitChange the directory containing the model training file. For this example, move to the dkubex-examples/ray folder by using the following:
cd dkubex-examples/rayTo run a Ray job to train your model, use the following command. The training job will start and the logs will be shown on the screen. Before running the command, replace the following in the command.
$dir$: directory containing files your job will run in
$runtimejson$: JSON-serialized runtime_env dictionary.
$file_name$: name of the model file
d3x ray job submit --working-dir $dir$ --runtime-env-json='$runtimejson$' -- python $file_name$ --use-gpu --num-workers <number of worker gpu needed>
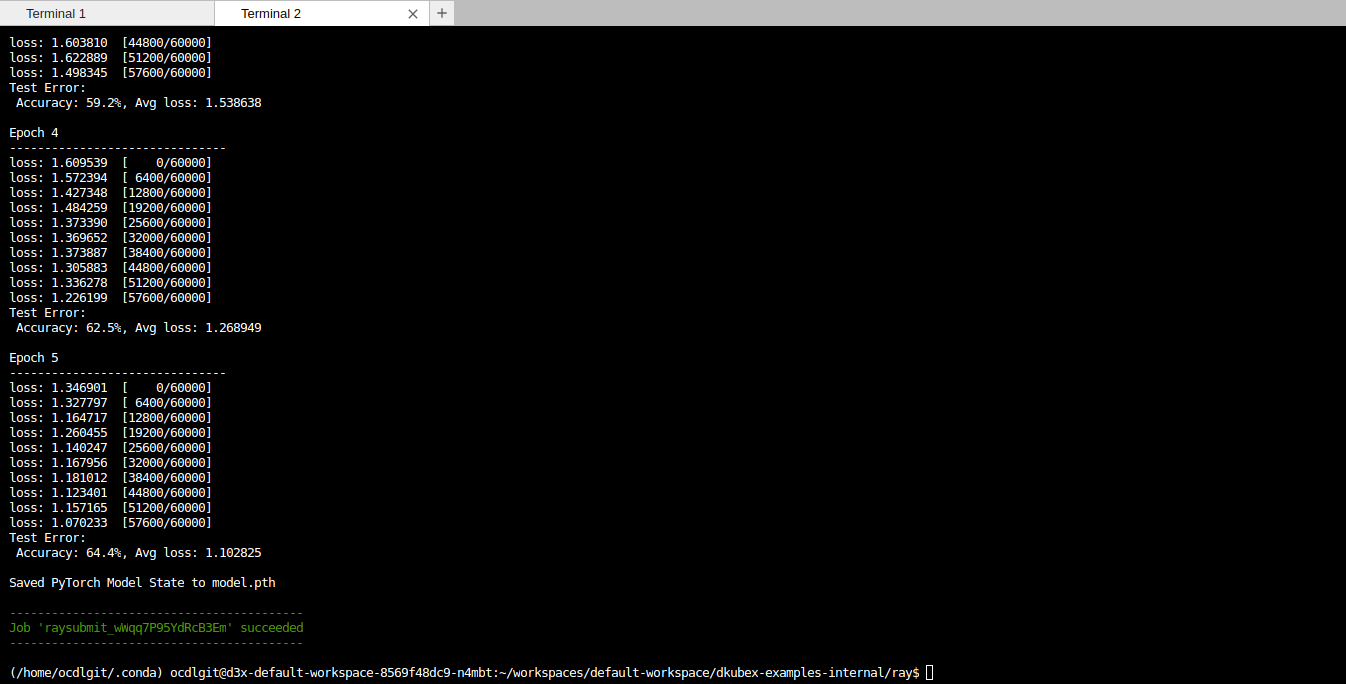
d3x ray job submit --working-dir $PWD --runtime-env-json='{"pip": ["torch", "torchvision"]}' -- python mnist_without_ray.py --use-gpu --num-workers 1
Once the job has ended, it will show Job ‘raysubmit_<job_id>’ succeeded.
Access Ray job details on MLFlow
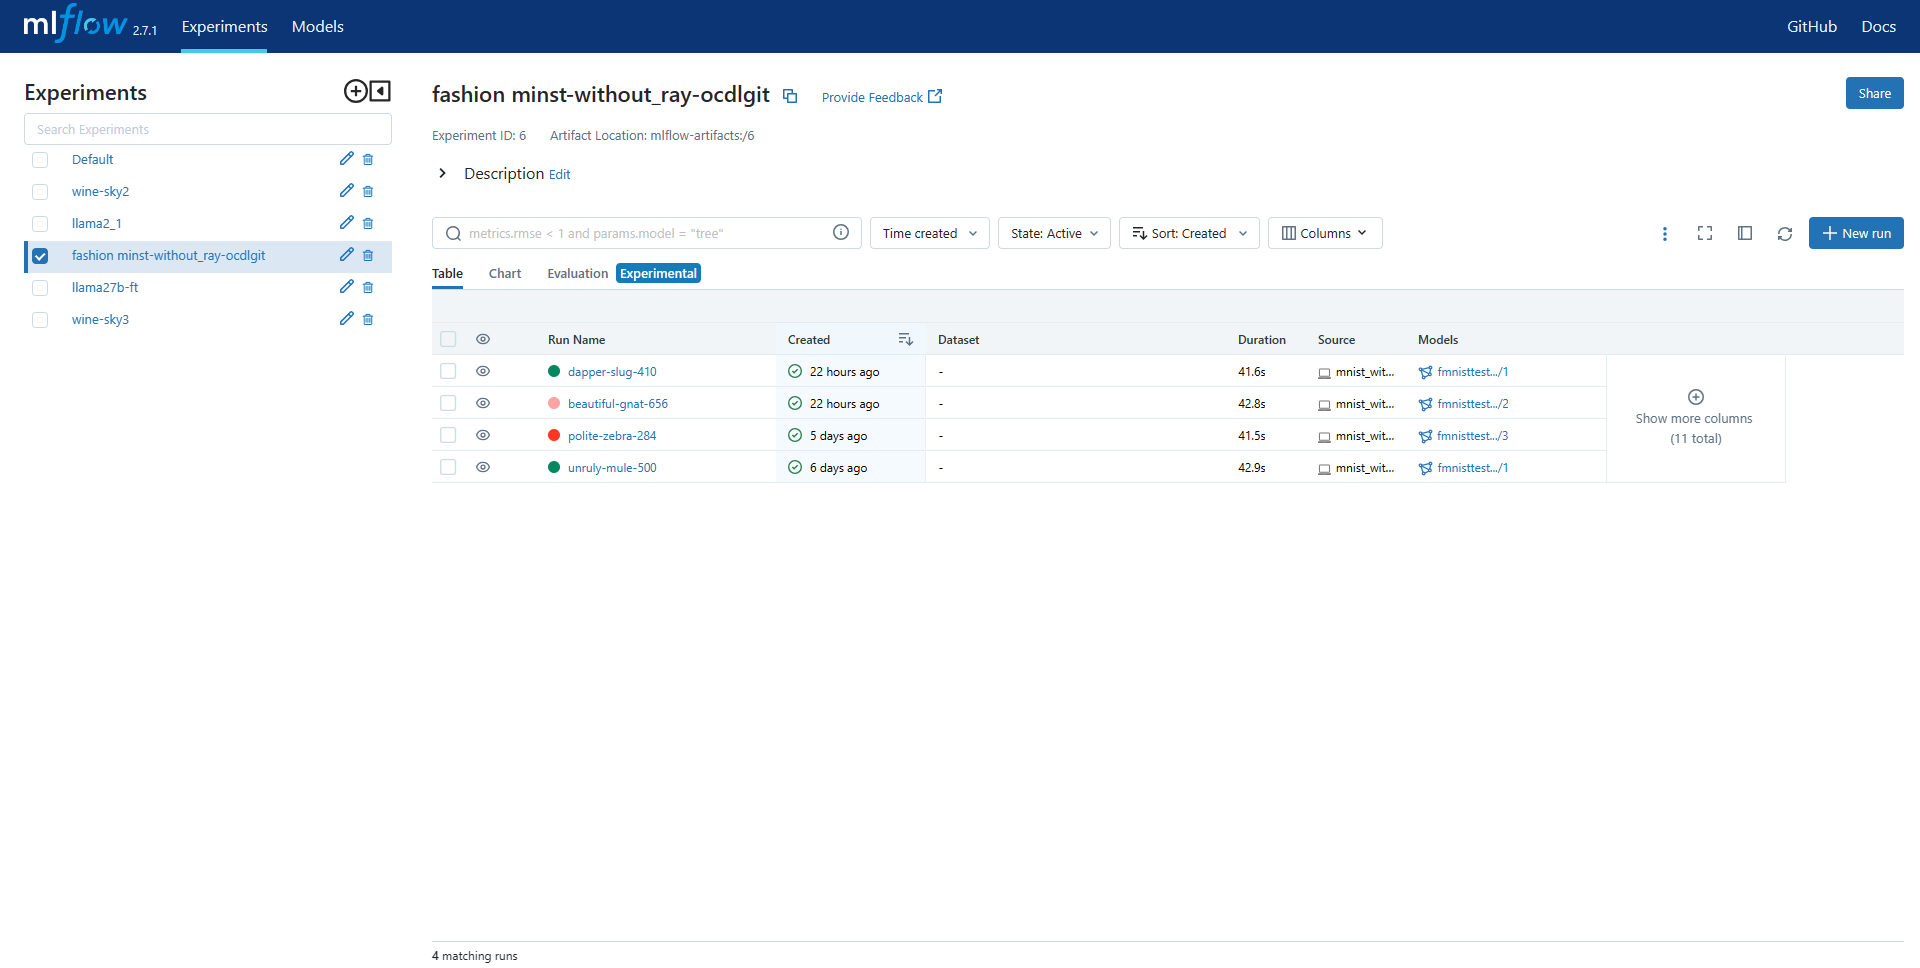
Open the MLFlow app in DKubeX UI.
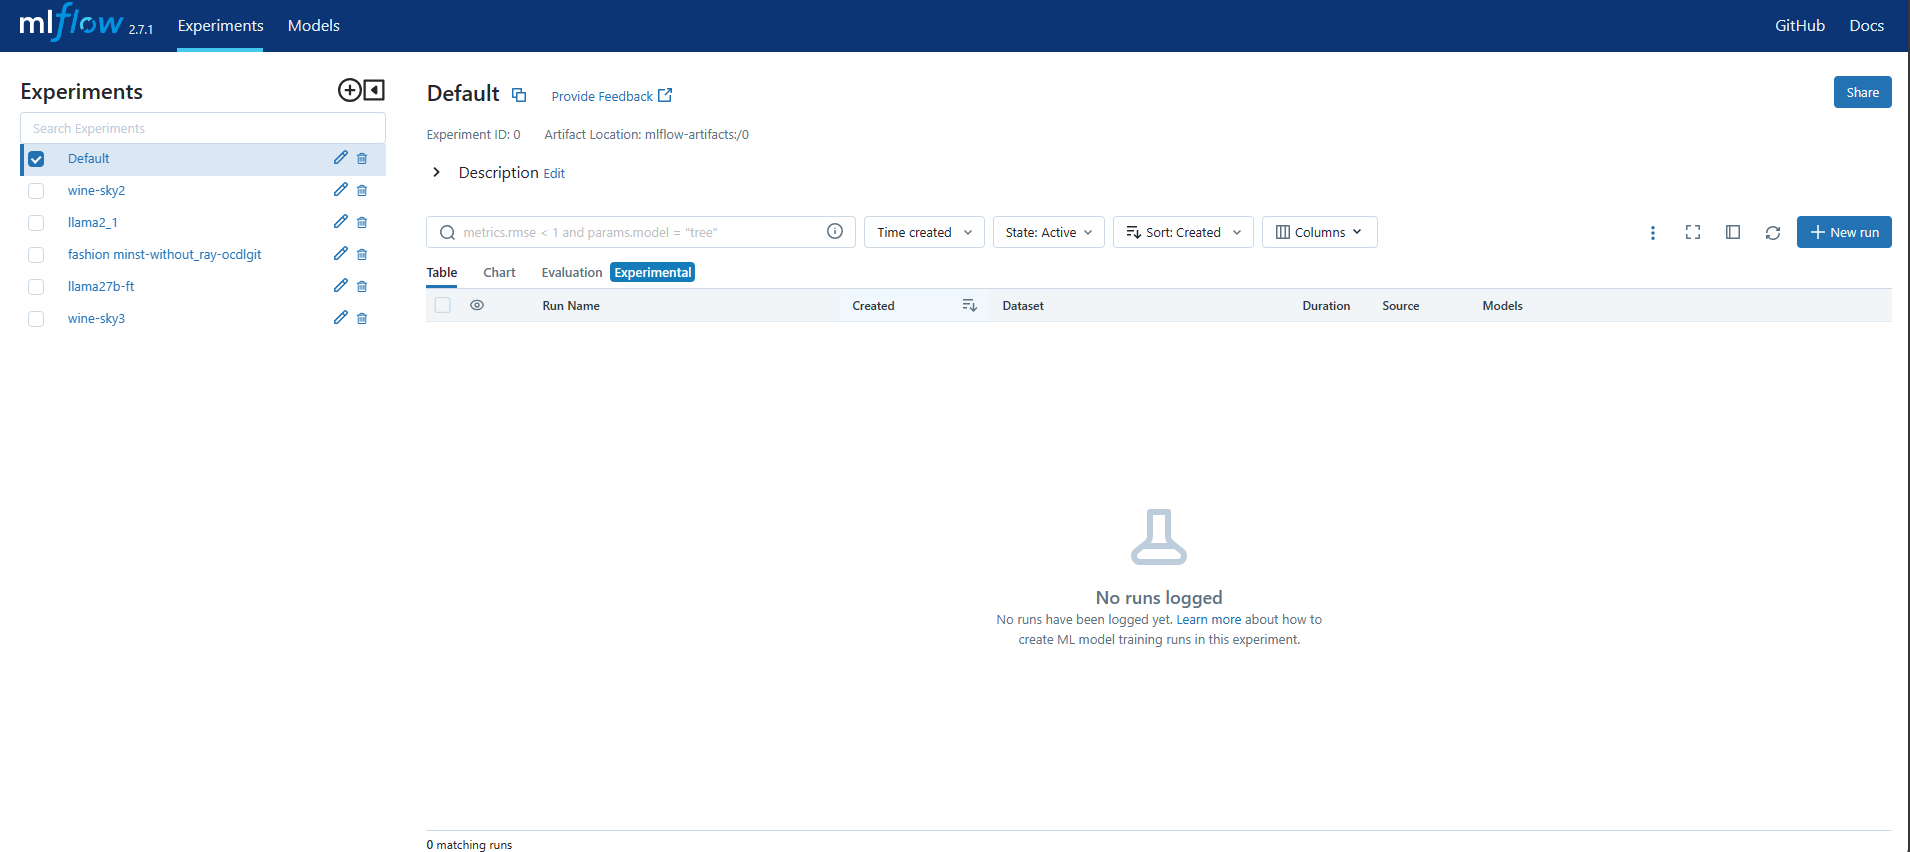
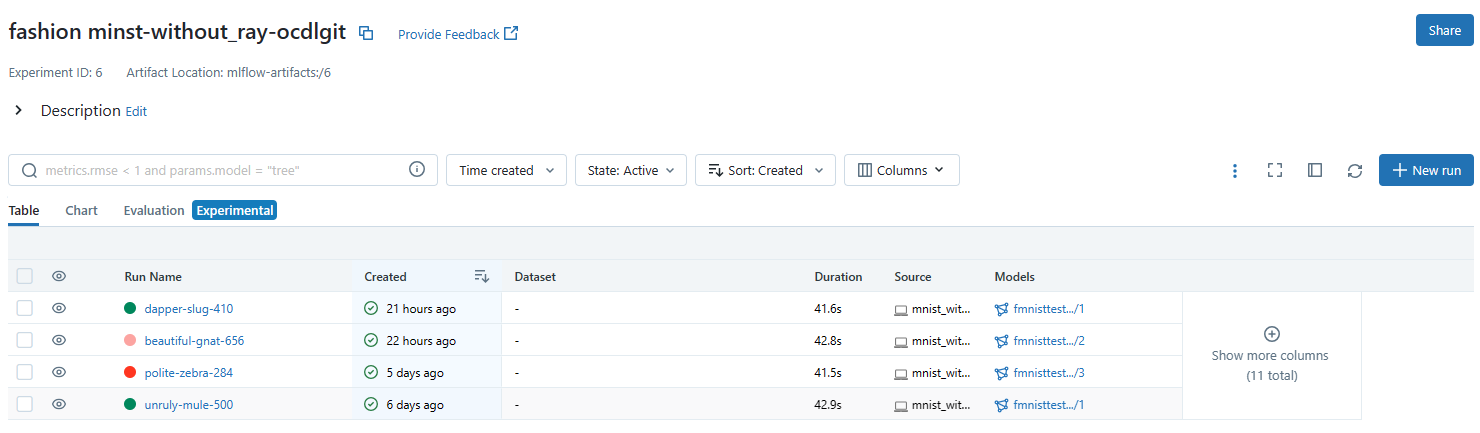
Click on the job that you are searching the details for from the list of Experiments. The page containing the details for that job will open.
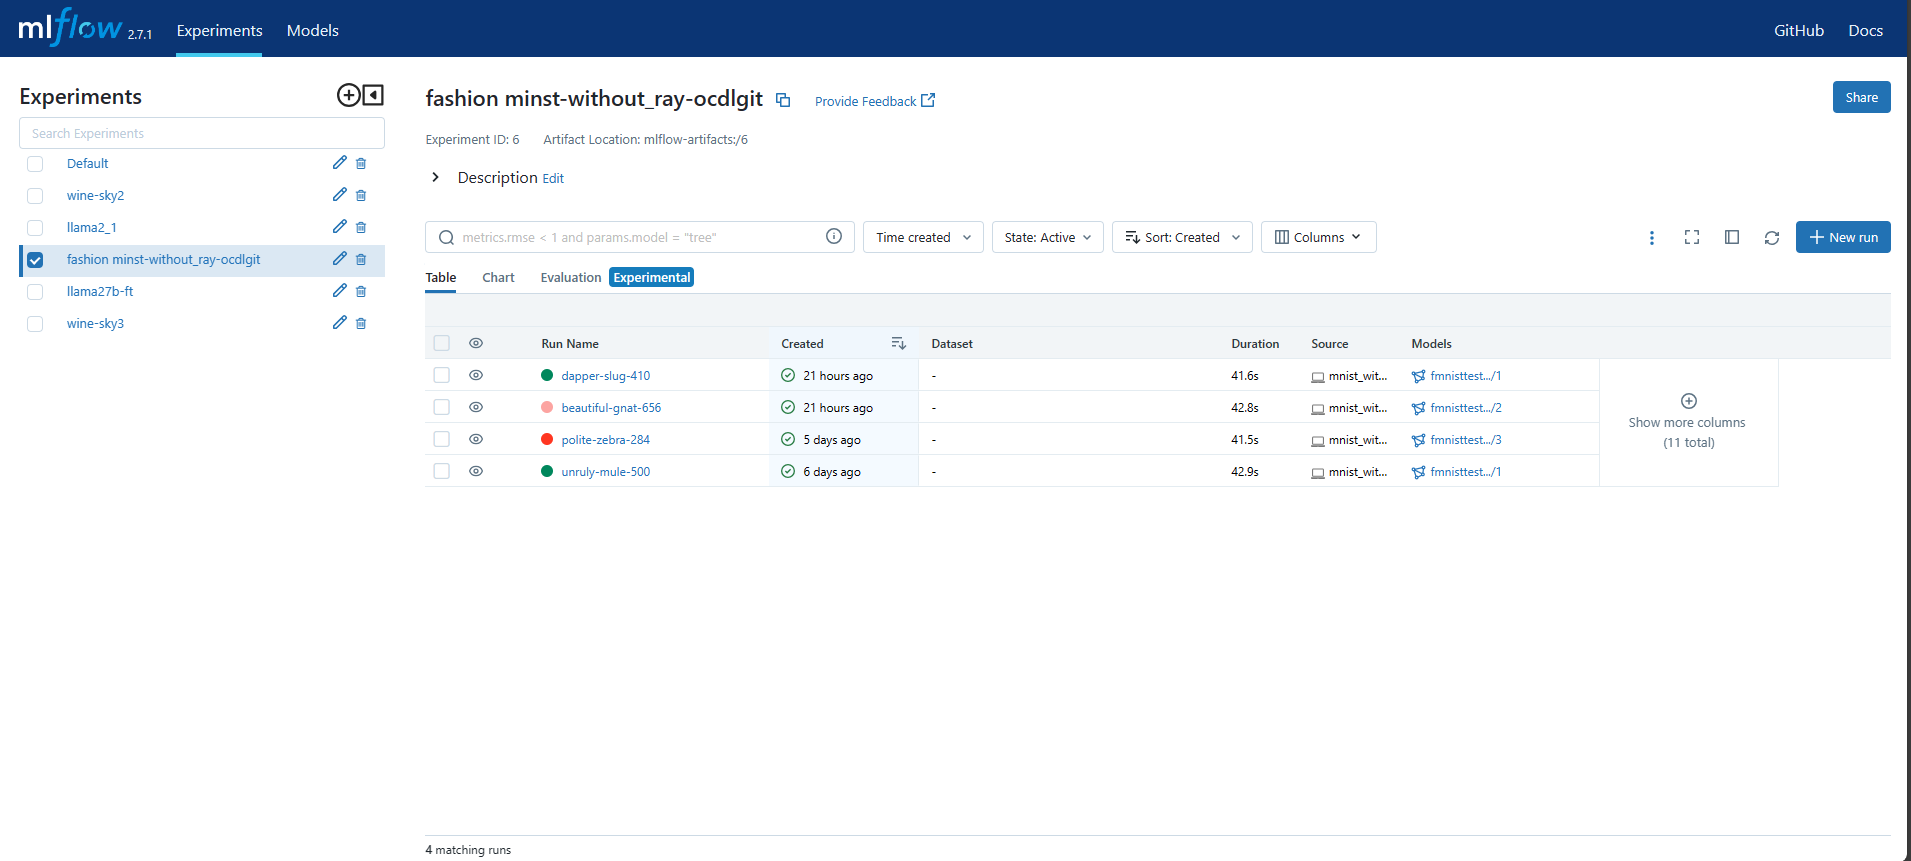
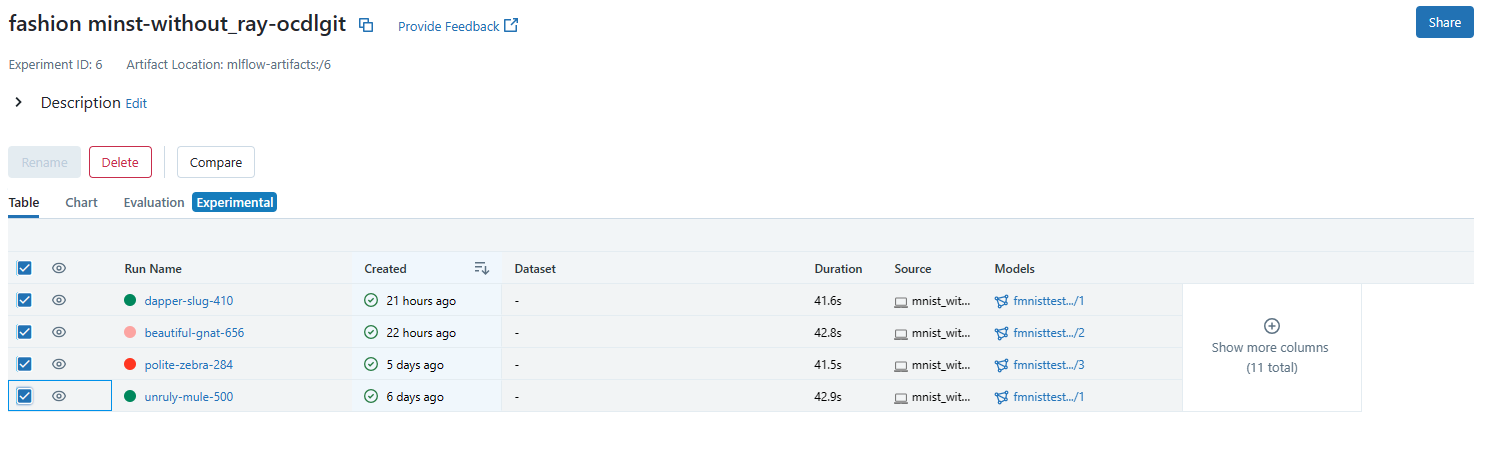
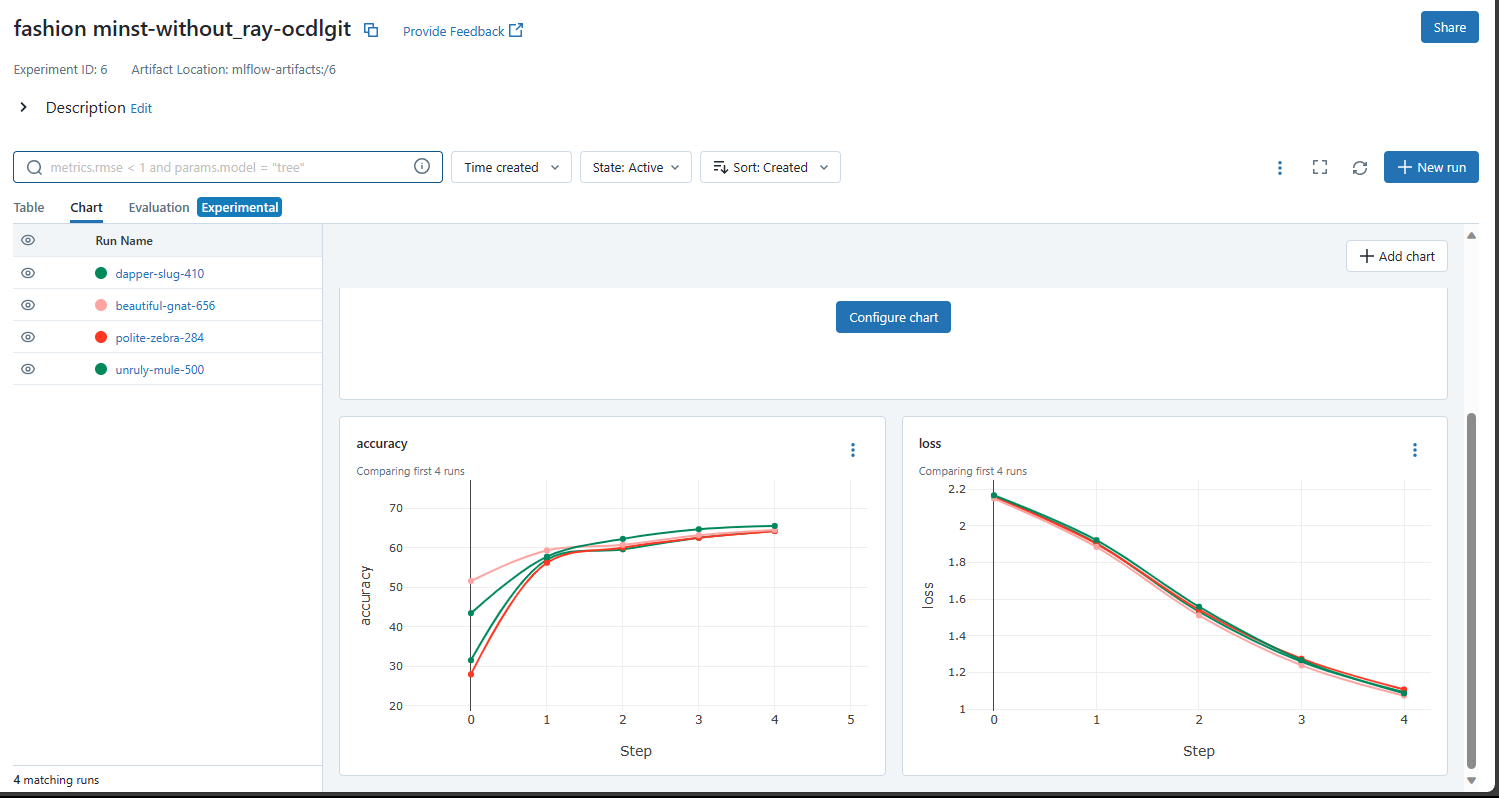
This page lists all the runs that have been done in this Ray job and the models that have been generated from these runs. The default view is Table view, but for comparison of these runs chart view and artifact view is also available.
To compare two or more runs, use the following steps-
Select the runs you want to compare by clicking on the checkboxes beside them, and then click on the compare button.
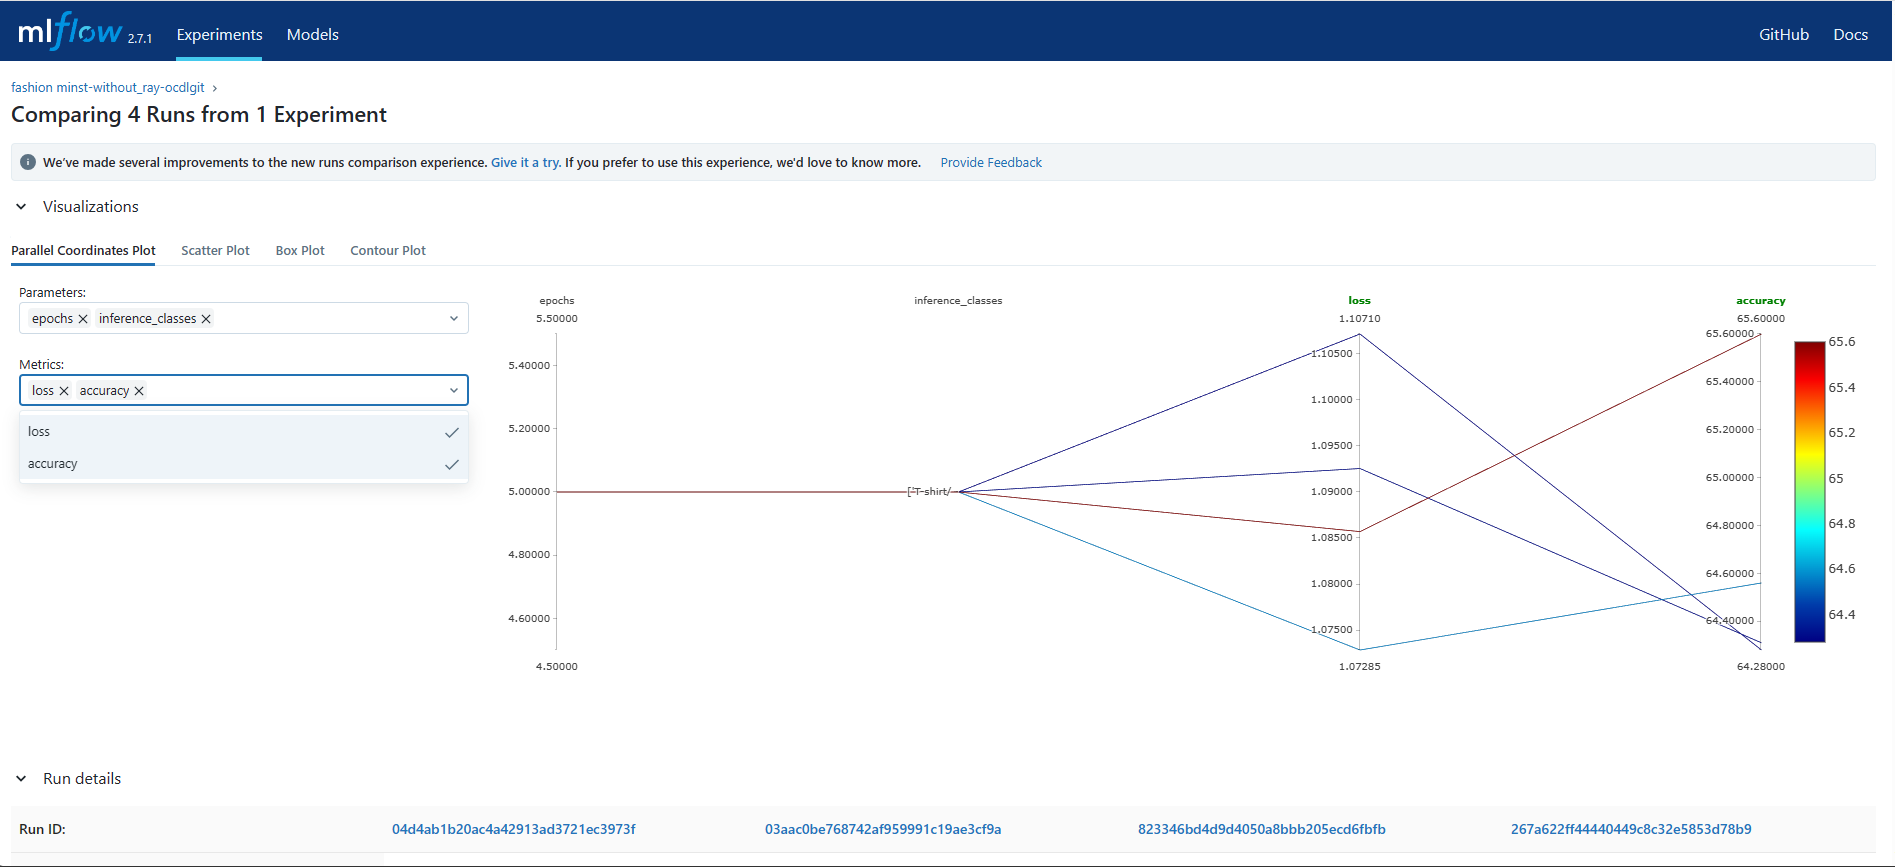
The comparisons page will open. Select the type of plot, parameters and metrics that you want to visualize.
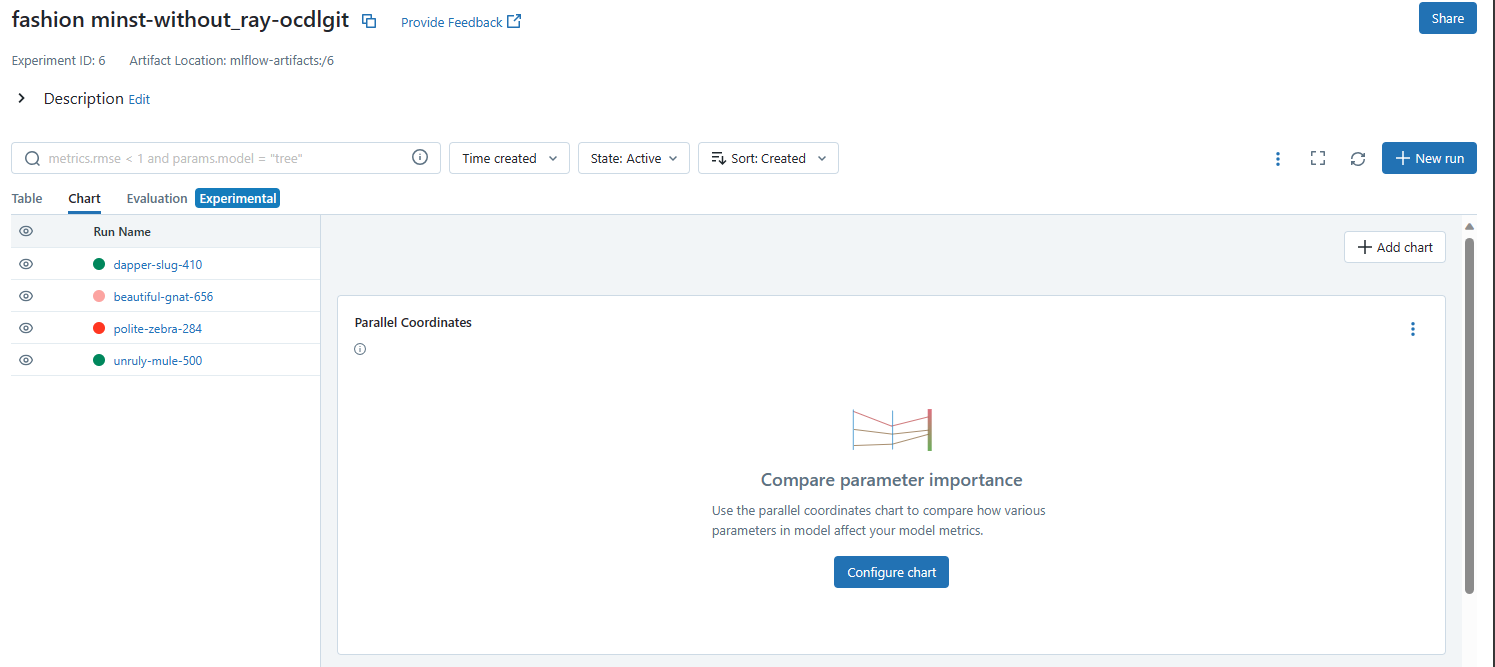
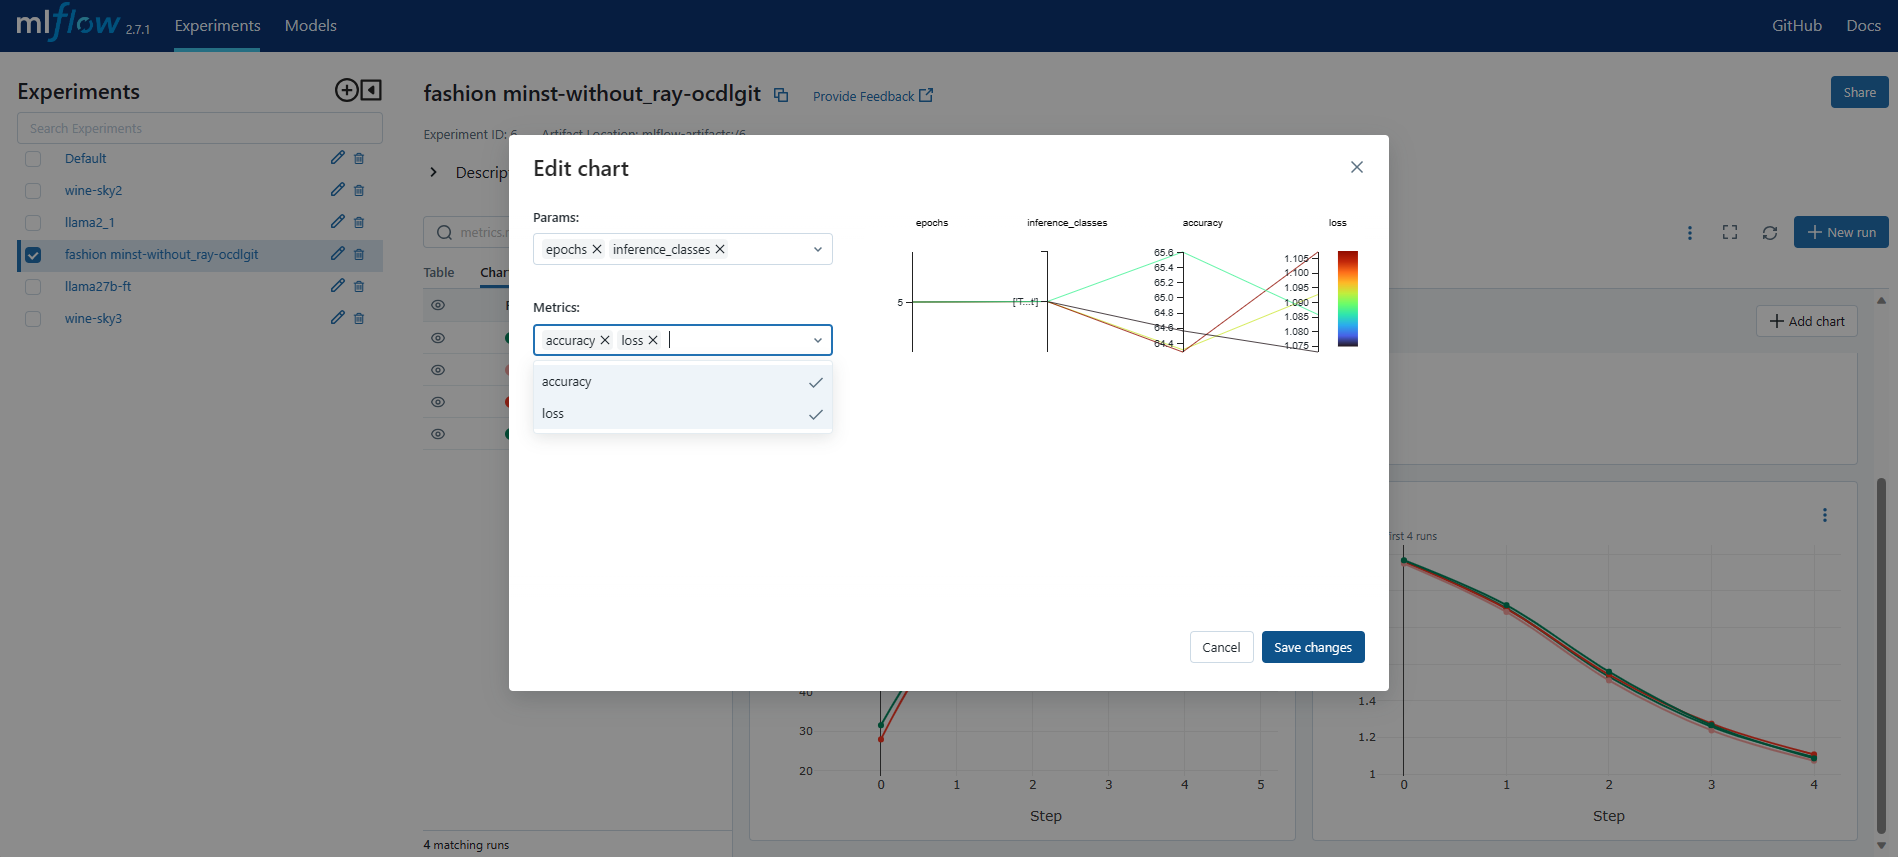
You can also compare the runs by selecting them and opening Chart view, clicking on the Configure Chart button, and selecting the appropriate parameters and metrics, and clicking on Save Changes button.
Register Trained Model on MLFlow
Open the MLFlow tab in DKubeX UI.
On the Experiments page, click on the experiment on which the new trained model was created. The page having the details of that job will be displayed.
Click on the run name on which the model was generated. You can identify this by looking on the Models column and find the run which has your desired model. The page containing the details of that run will be displayed.
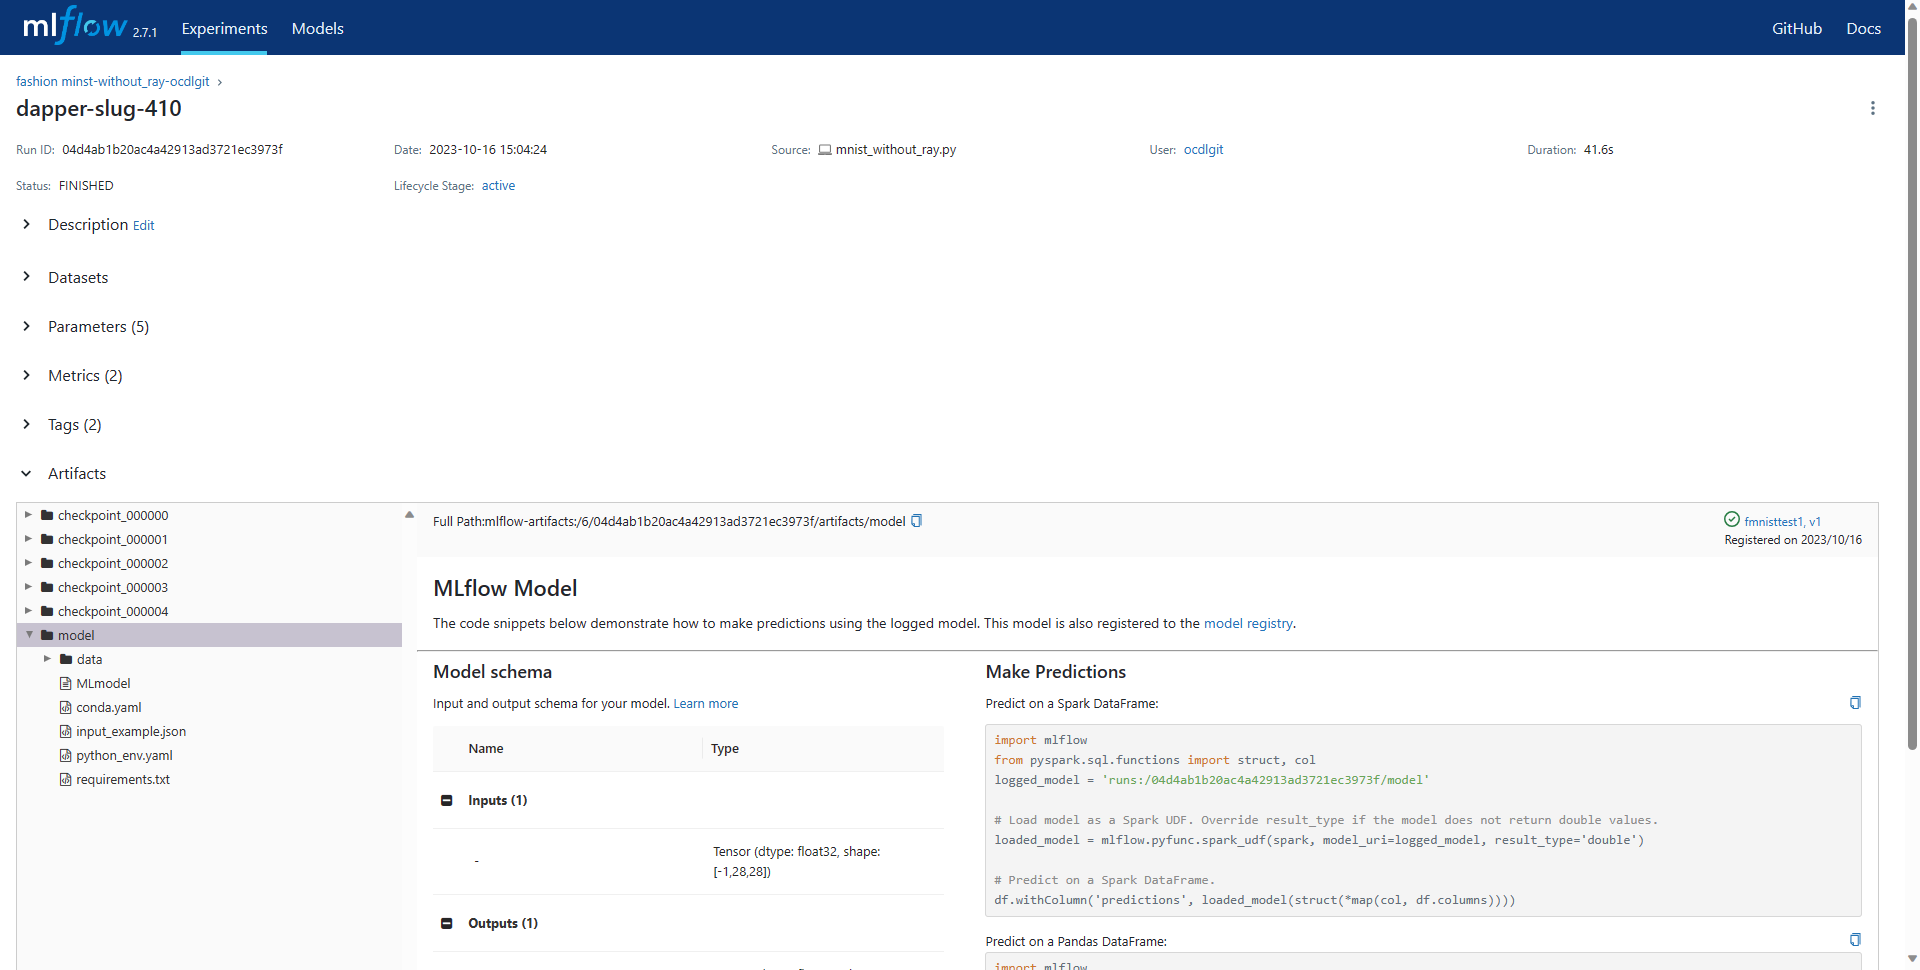
In the Artifacts section on this page, the details about this model will be shown. Click on the Register Model button to register it to the MLFlow model registry.
On the Register Model pop-up screen, click on the Create New Model option from the Model dropdown menu, and then provide an unique name to the model in the Model Name field. Once you are done, click on the Register button.
To check whether the model has been successfully registered, open the Models page in the MLFlow tab. Your model should be visible in the list of registered models.
